SRS-X-Elite V2 instructions

MDT SRS-X V2, ELITE GRIP V2 AND CONNECTOR BAR MANUAL
V2.0 April 2022
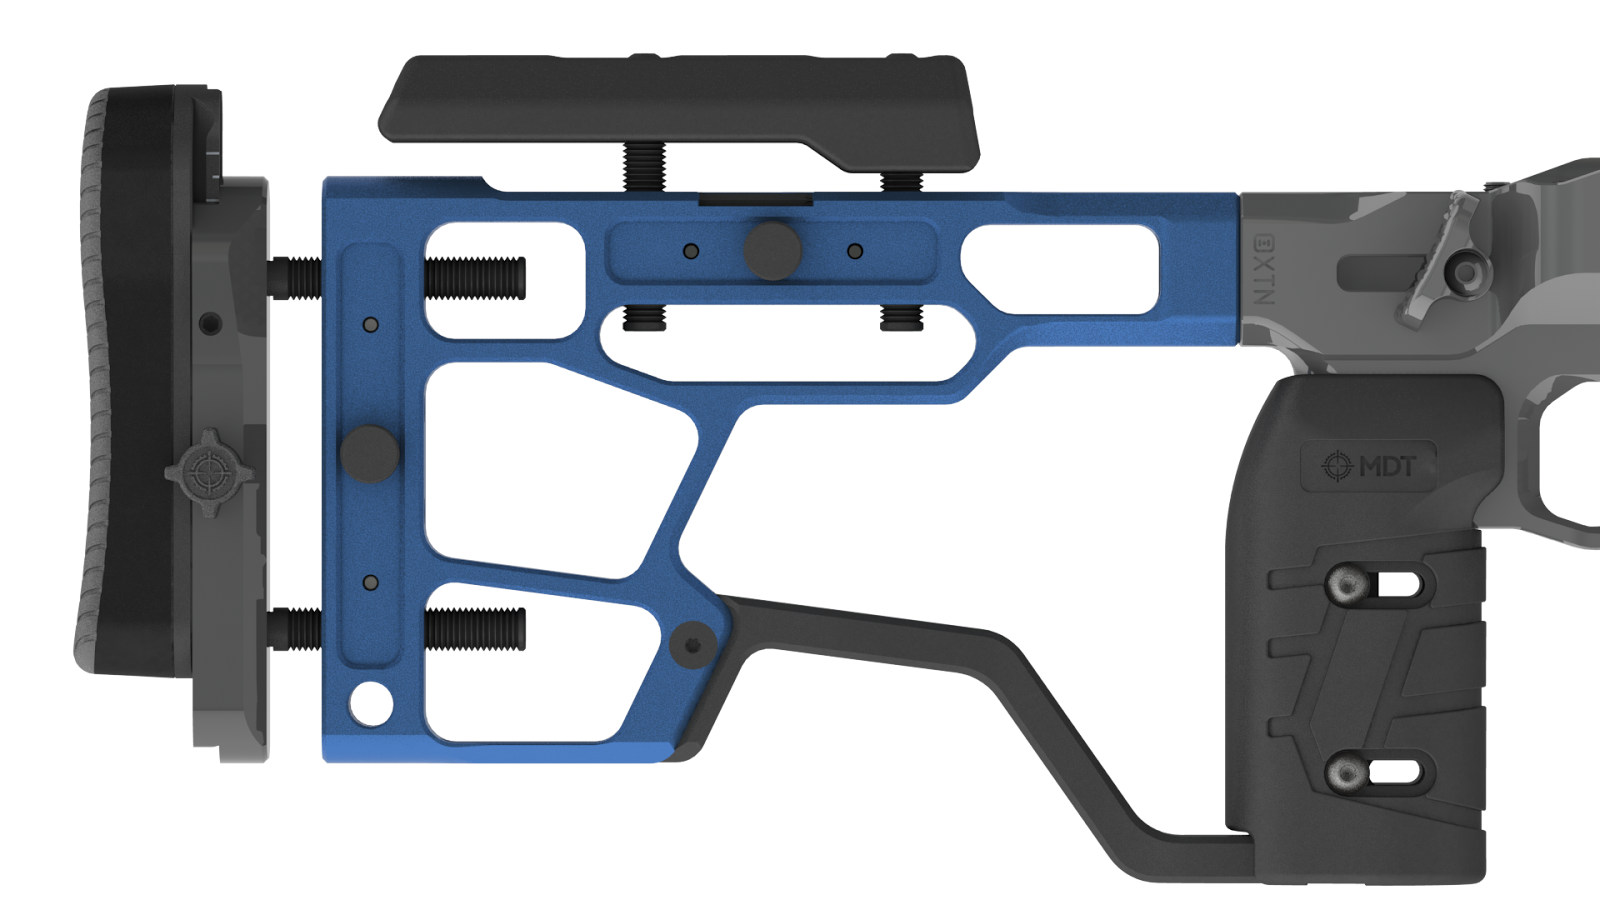
Technical Description

The MDT MDT SRS-X V2, ELiTE GRIP V2 AND CONNECTOR BAR are the backbone of the most stable and rigid chassis system that we have ever built! Through design, testing and development, we had discovered that our buttstock system could be improved upon to provide the shooter with the most stable and repeatable recoil transfer. With shooters of all shapes and sizes starting to shoot precision rifles, we have decided to make the length of pull (LOP) adjustable between approximately 12.25”-14.75”, allowing most shooters to obtain a square, centered profile behind the buttstock.
Coupled with the highly adjustable LOP, we have also built in 1” of linear travel (front-to-back) into the cheekriser, 0.55” of linear travel into the vertical grip (as well as +/- 5 degrees of cant), 1” of vertical travel in the cheekriser height, and buttpad height and side-to-side adjustment and cant! With all of these user adjustable, ergonomic interfaces, the shooter is able to fully customize their buttstock system to them, while retaining the stiffness and repeatability. Additionally, a lot of these features are tooless, on-the-fly adjustable, so that you can adjust them between stages or even on the clock, and those features that are not tooless, we have included tools (T10 and ⅛” hex keys) into the buttstock which are retained by magnets.
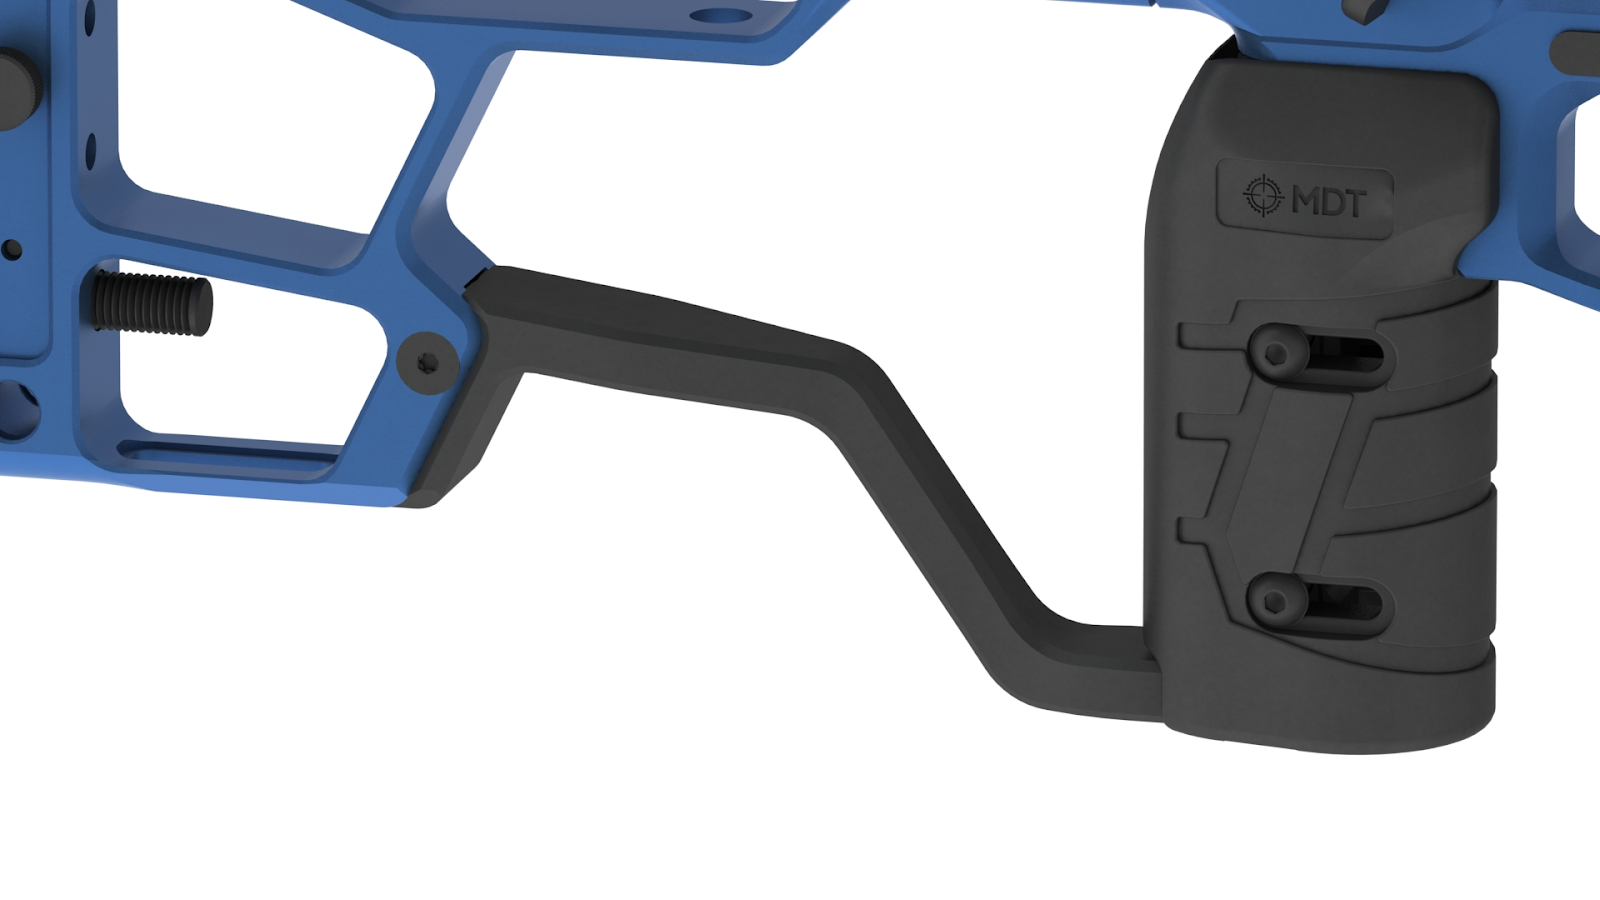
The grip and connector bar system are independant and can be modularly set up such that if you do not like the look or feel of the connector bar, it can be removed and replaced with an included connector bar plug, and the grip is AR-15 grip compatible, so that any MDT or competitor grip will fit. Finally, there is a m-lok slot on the bottom of the buttstock so that a picatinny rail, m-lok bag rider or any buttstock accessory can be added.
Feature List and Description

- New grip/connector bar design that is modular and backwards compatible for increased stiffness between buttstock and chassis
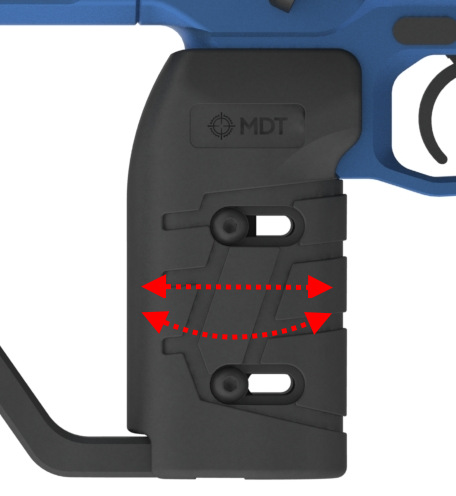
- Grip allows ~13.8 mm/0.55" back-and-forth adjustment and +/- 5 degrees of cant
- New buttstock profile that is shorter (12.25" LOP minimum/14.75" LOP maximum) and has different geometry that promotes in-line recoil to the shooter
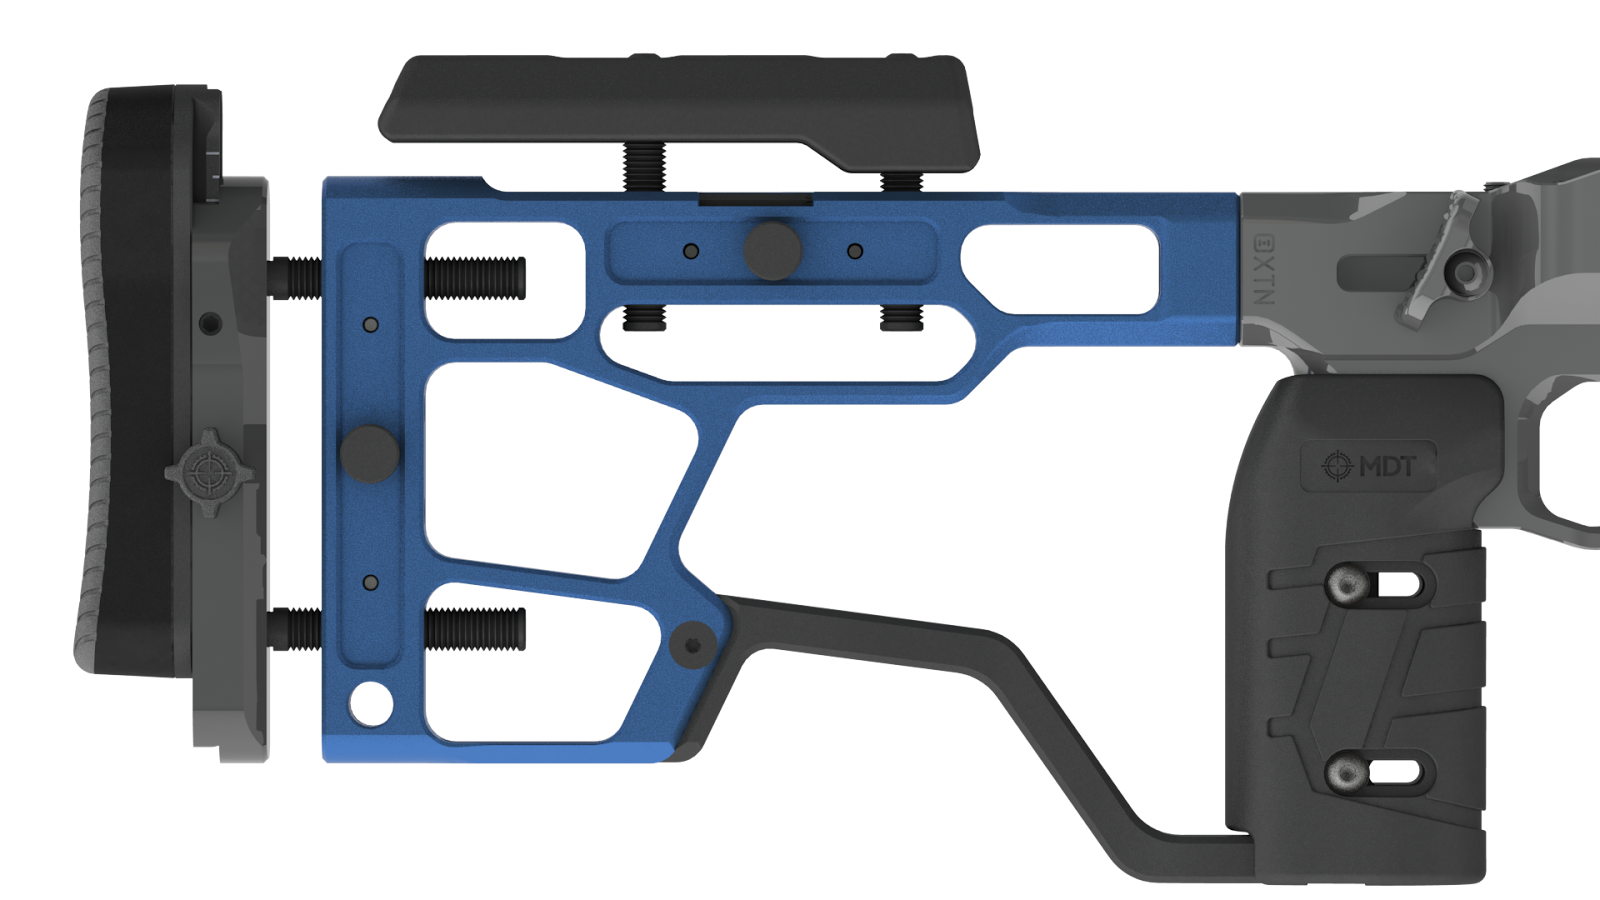
- New cheekriser with 1" back to front adjustment built in
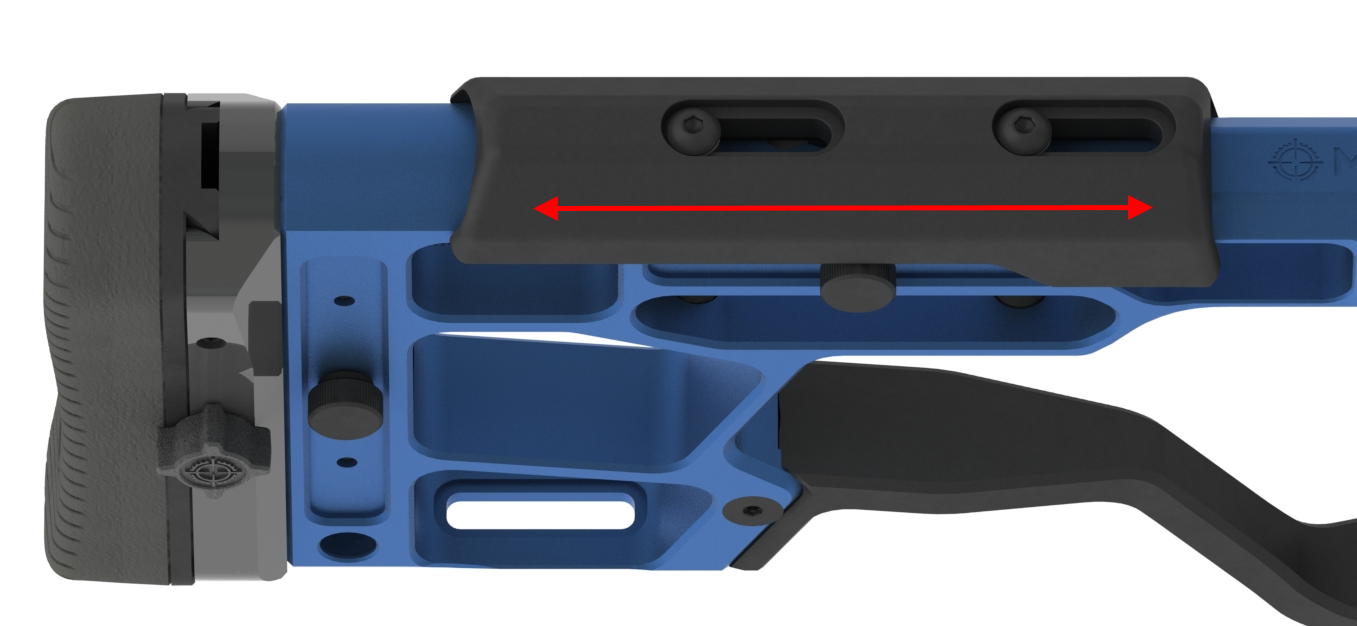
- Tool-less LOP adjustment
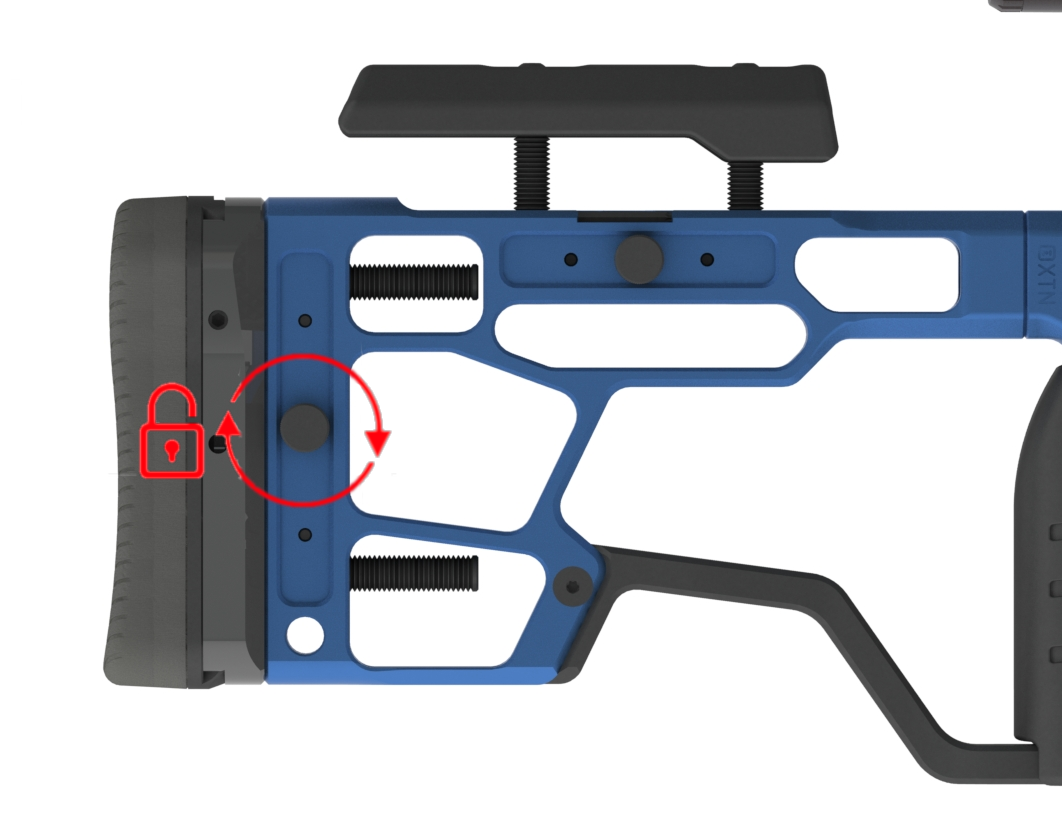
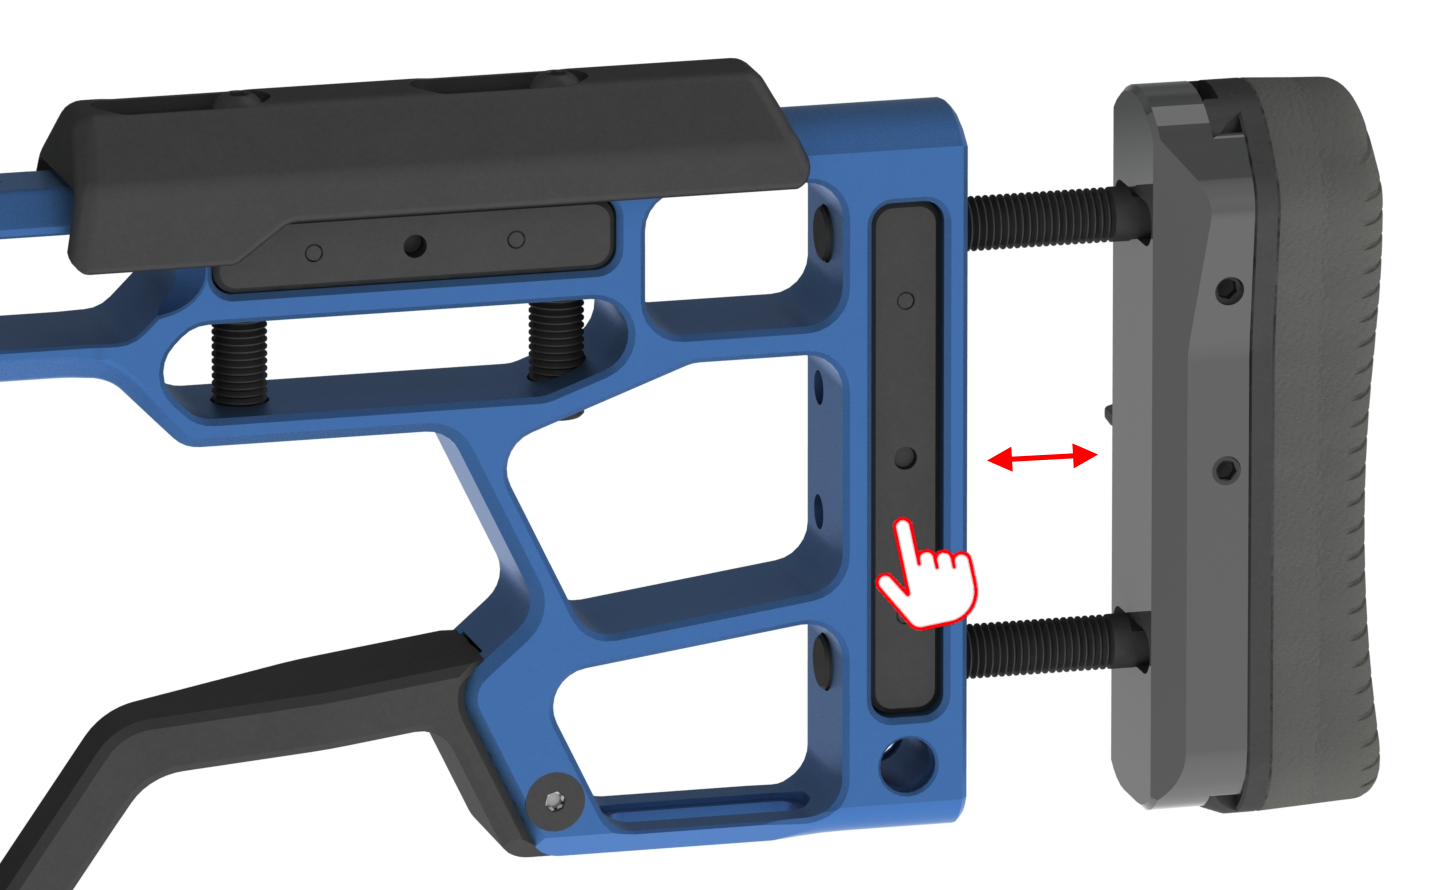
- Tool-less Cheek Riser adjustment
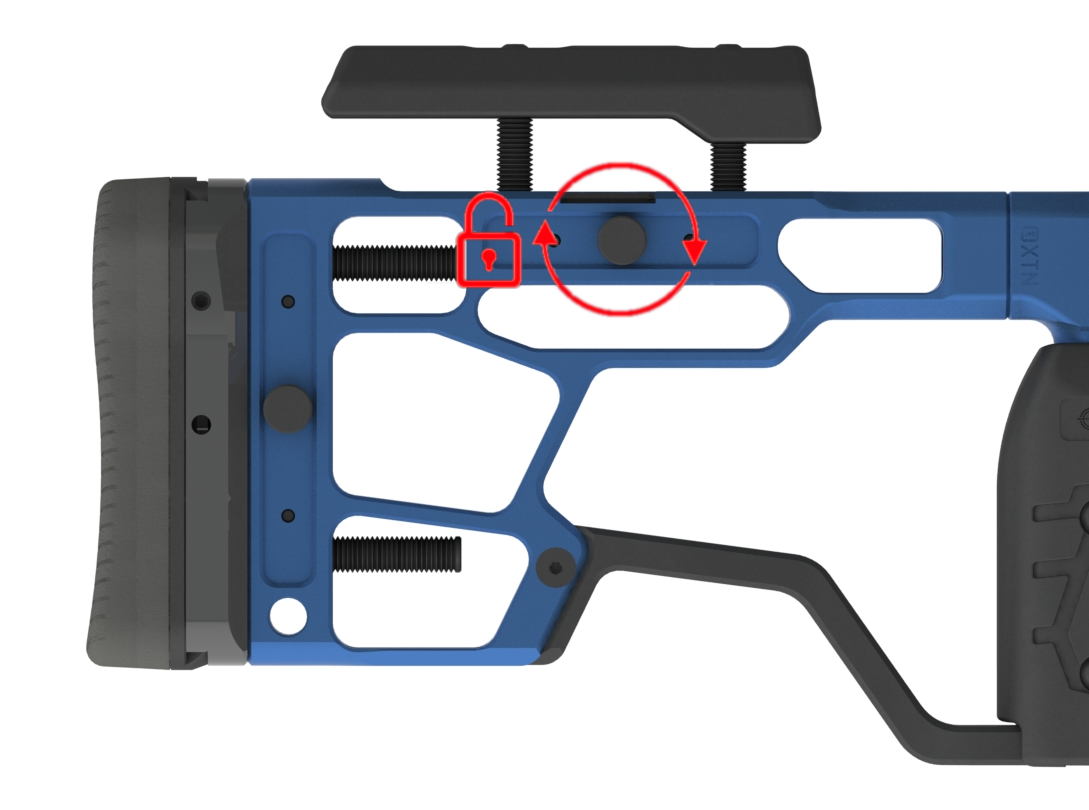
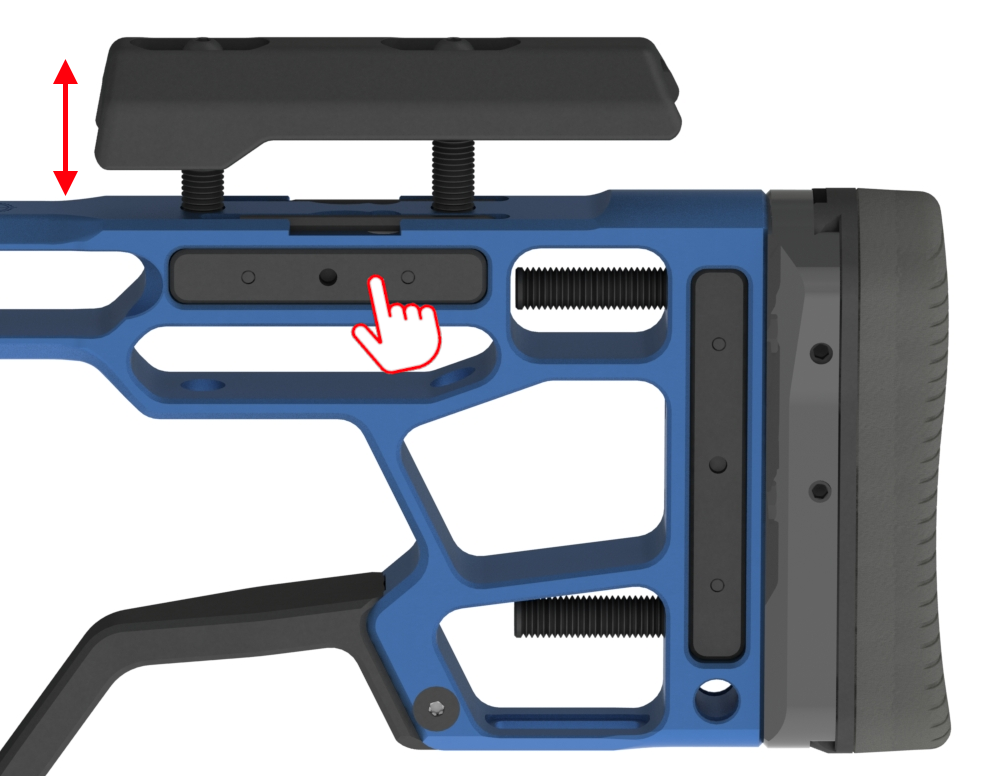
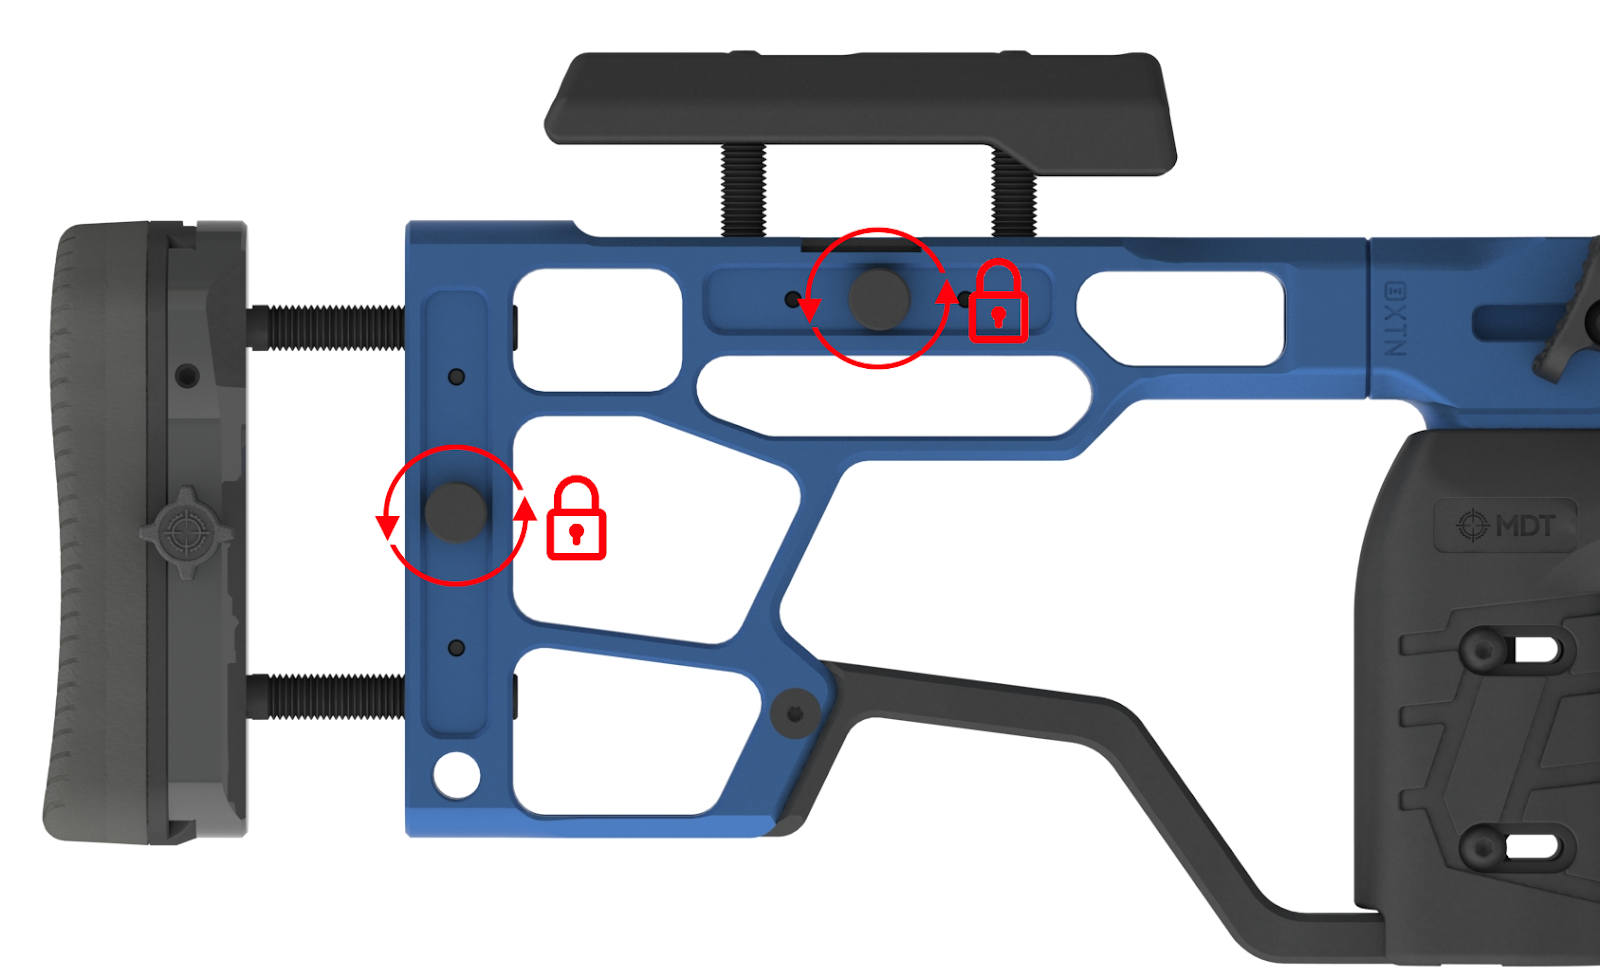
- Single Hand Tool-less Cheek Rise rand LOP position locking
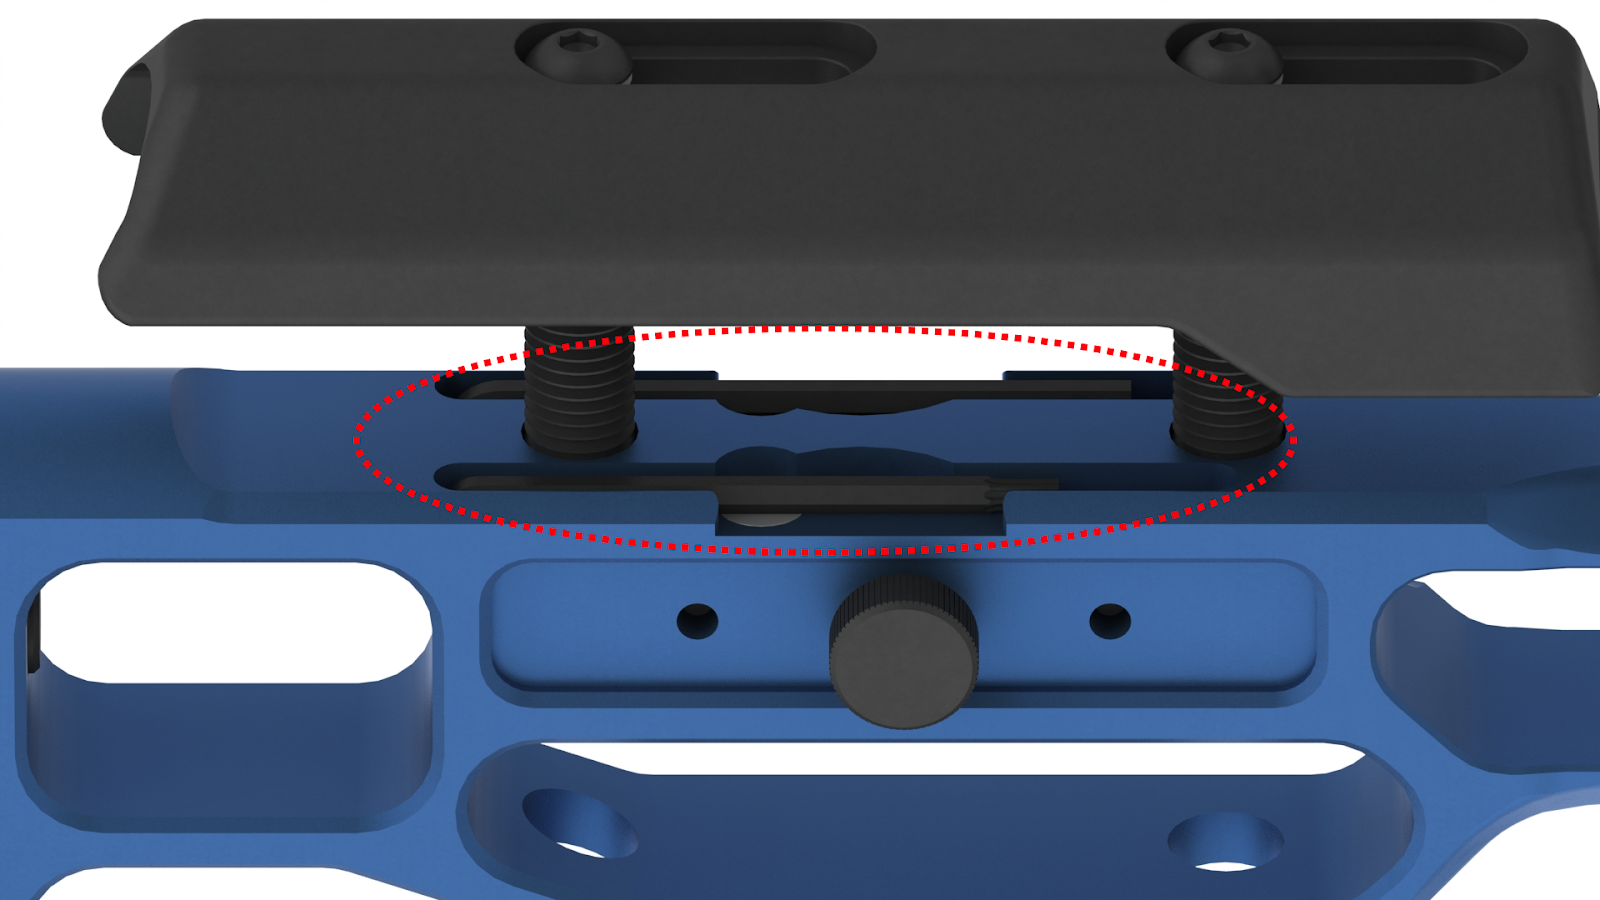
- Hex key storage in buttstock for 1/8" and T10 hex keys
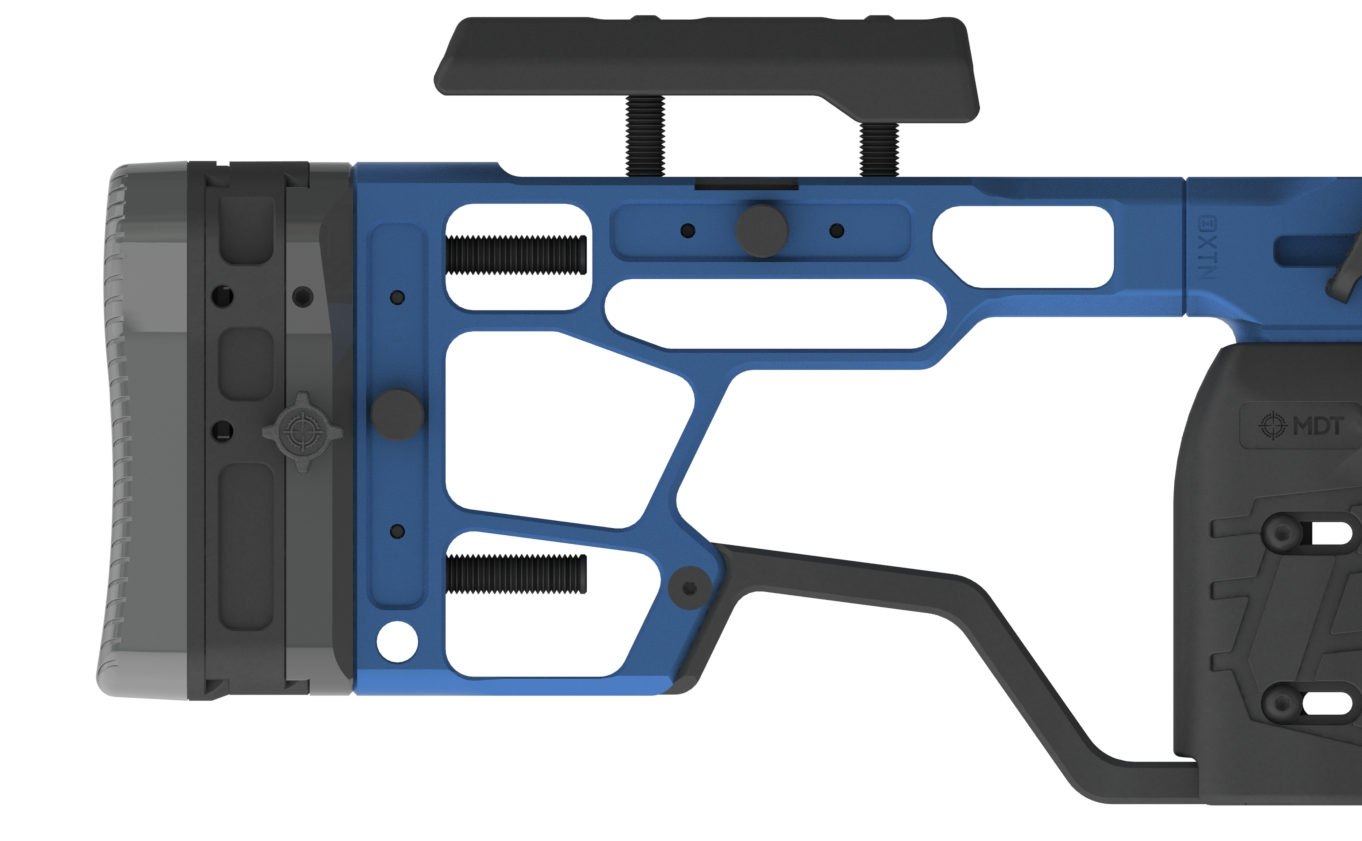
- 3/4" LOP spacer included in buttstock assembly
- All fasteners (minus action screws) made T10 or 1/8" hex common
- Buttpad height graduations lasered into buttpad base for easy repeatability
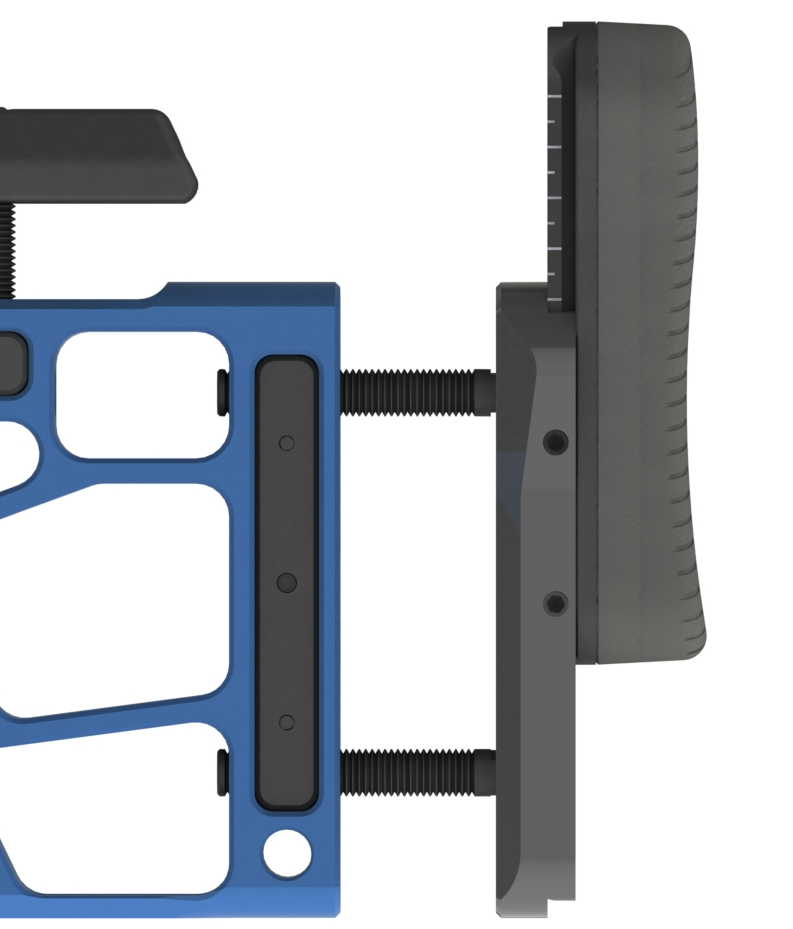
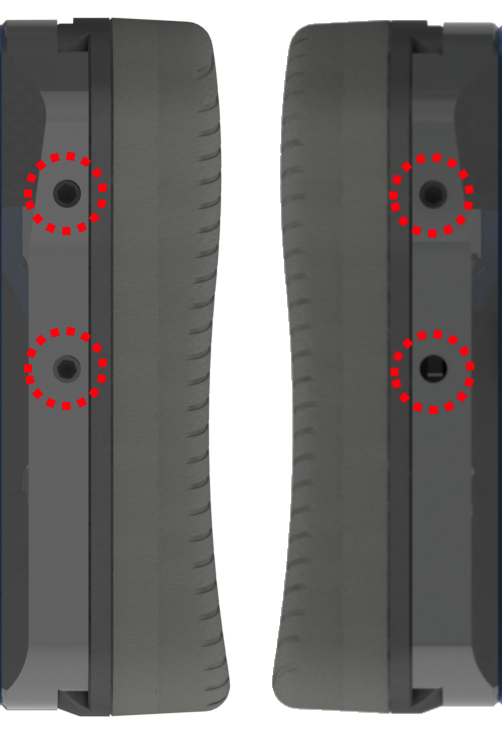
- Buttpad and LOP spacer include 4x fastening points to ensure that buttpad assembly is rigid, even when raised while providing allowances for left hand and right hand operation.
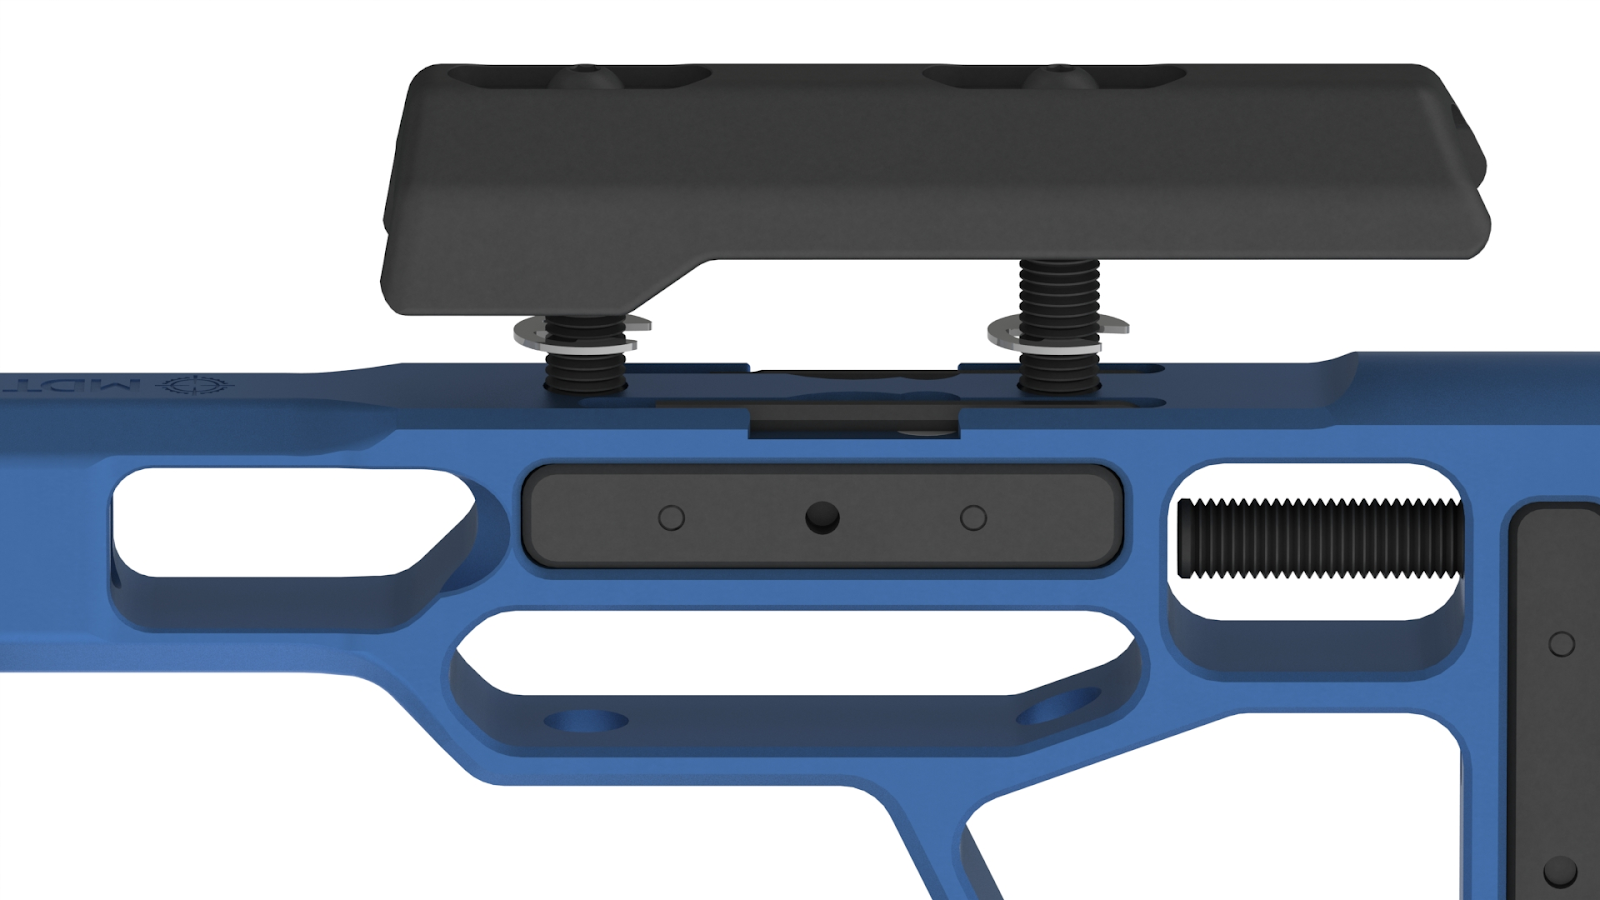
- 3/8" E-Clips included to act as cheek riser height or LOP coarse memory system
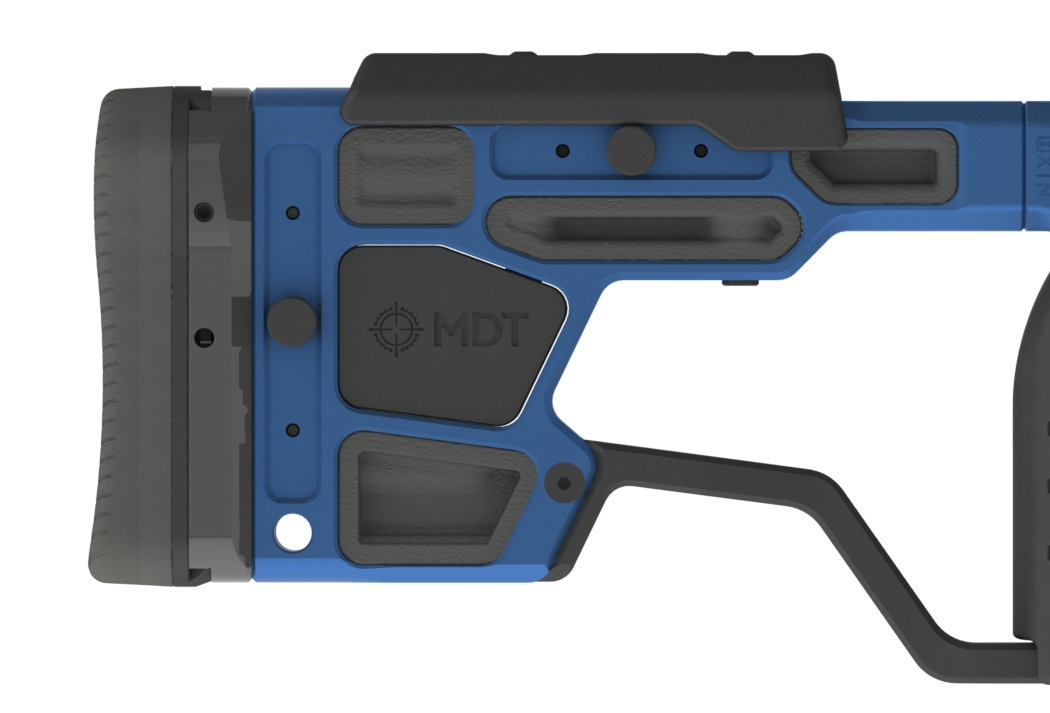
- New buttstock jellies to fit updated buttstock to launch soon after chassis
Installation Instructions

TOOLS REQUIRED FOR ASSEMBLY
- 5/16” Hex Key (Included T-Handle)
- 5/32” Hex Key/Drive Bit
- ⅛” Hex Key/Drive Bit
ADDITIONAL TOOLS REQUIRED FOR ADJUSTMENT AND FULL DISASSEMBLY
- Torque Wrench (in-lb)
- T10/IP10 Driver/Key
ITEMS REQUIRED FOR ASSEMBLY
- XTN Interface Compatible Chassis
- 1-¼” Long Pistol Grip Screw (Included in grip assembly)
- ⅜”-24 Buttstock Screw (Included with chassis assembly)
- 2x #6-32 x ½” Flat Socket Head Screws
- 1x #6-32 x ⅝” Flat Socket Head Screw
INSTALLATION ONTO CHASSIS
- Same as most other buttstocks
CONNECTOR BAR PLUG REMOVAL (OPTIONAL)
- THIS BUTTSTOCK CAN BE RAN WITH OR WITHOUT THE OPTIONAL CONNECTOR BAR, BUT WE’LL INCLUDE IT IN HERE JUST BECAUSE
LOP ADJUSTMENT
- VERY SIMILAR TO THE ABOVE STEPS THAT YOU LISTED IN THE “FEATURE LIST”
CHEEKRISER ADJUSTMENT
- BOTH FOR HEIGHT AND FRONT TO BACK ADJUSTMENT
LOP SPACER INSTALLATION AND ADJUSTMENT (ALSO OPTIONAL)
- WE SHIP THIS BUTTSTOCK WITH THE LOP SPACER AND WE SHOULD INCLUDE INSTRUCTION ON HOW TO INSTALL IT AND PROBABLY MENTION THAT THE HEIGHT ADJUSTMENT BE DONE WITH THIS SPACER, RATHER THAN THE BUTTPAD BASE ONCE INSTALLED
INSTALLING THE E-CLIPS ON THE CHEEKRISER OR LOP (OPTIONAL)
- OPTIONAL INSTALLATION FOR THE INCLUDED E-CLIPS FOR LOP AND CHEEKRISER POSITION MEMORY IF YOU REMOVE THEM QUICKLY AND WANT TO REMEMBER WHERE THEY GO
GRIP POST INSTALLATION ONTO THE CHASSIS
- PROBABLY SHOULD MENTION REMOVING THE GRIP FROM THE GRIP POST, REMOVING THE SCREW FROM THE CHASSIS AND INSTALLATION (GRIP TAPE IS ALREADY INSTALLED FROM FACTORY)
GRIP INSTALLATION ON TO GRIP POST
- TORQUE LIMIT ON SIDE SCREWS IS 15 IN-LB.
- SCREWS AND NUTS HAVE SPECIFIC SIDES ON EACH SIDE OF THE GRIP
CONNECTOR BAR INSTALLATION BETWEEN GRIP POST AND BUTTSTOCK
WEIGHT INSTALLATION INTO BUTTSTOCK (OPTIONAL)
