Vertical buttpad adjutsment installation
BUTTPAD ADJUSTMENT UPGRADE KIT
V1.0 March 2022
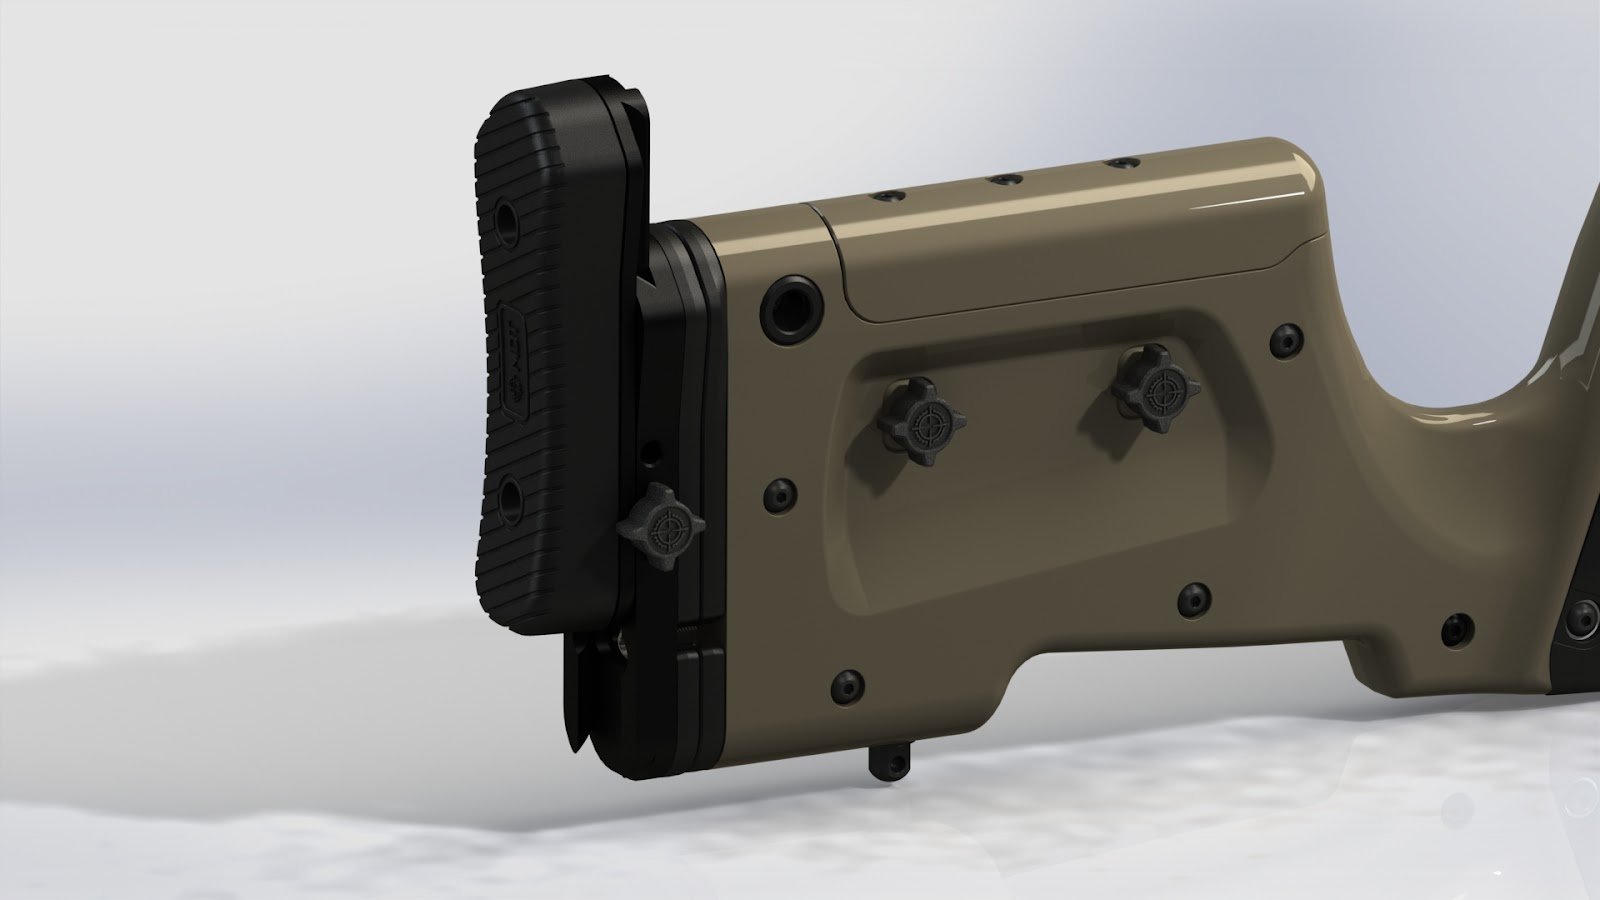
BUTTPAD ADJUSTMENT UPGRADE KIT
Thank you so much for choosing the MDT Buttpad Adjustment Upgrade Kit. This accessory attaches to various chassis/buttstocks allowing for vertical, horizontal and angular cant adjustment of your buttpad.
DETAILS
- Compatible with the MDT XRS & HNT26.
- Compatible with Oryx Sportsman chassis.
- Compatible with MDT SRS-Lite, SCS-Lite, & CCS buttstocks
- 0.4 lbs (0.18 kg)
- 6061-T6 aluminum construction.
- Vertical Adjustment from neutral position:
- 52mm (2in) Up
- 17mm (0.67in) Down
- Horizontal Adjustment: 14mm (0.55in) total, 7mm (0.28in) to each side
- Cant Adjustment: 13 degrees
- Adds 14.5mm (0.57in) to LOP
INSTALLATION
- Ensure firearm is unloaded
- Remove the magazine and bolt
- Using a 5/32” Allen wrench remove the two screws securing the buttpad onto the stock. Store the buttpad and screws as they will not be used in this configuration.
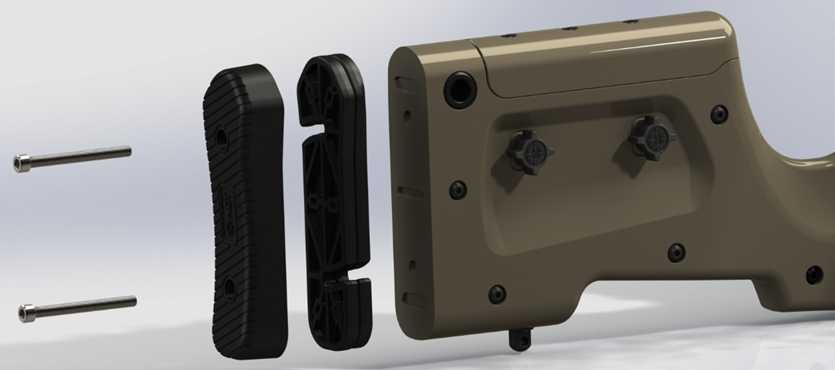


- Using a 1/8” Allen wrench loosen the set screw and thumbwheel so that the buttpad dovetail slider can be removed.
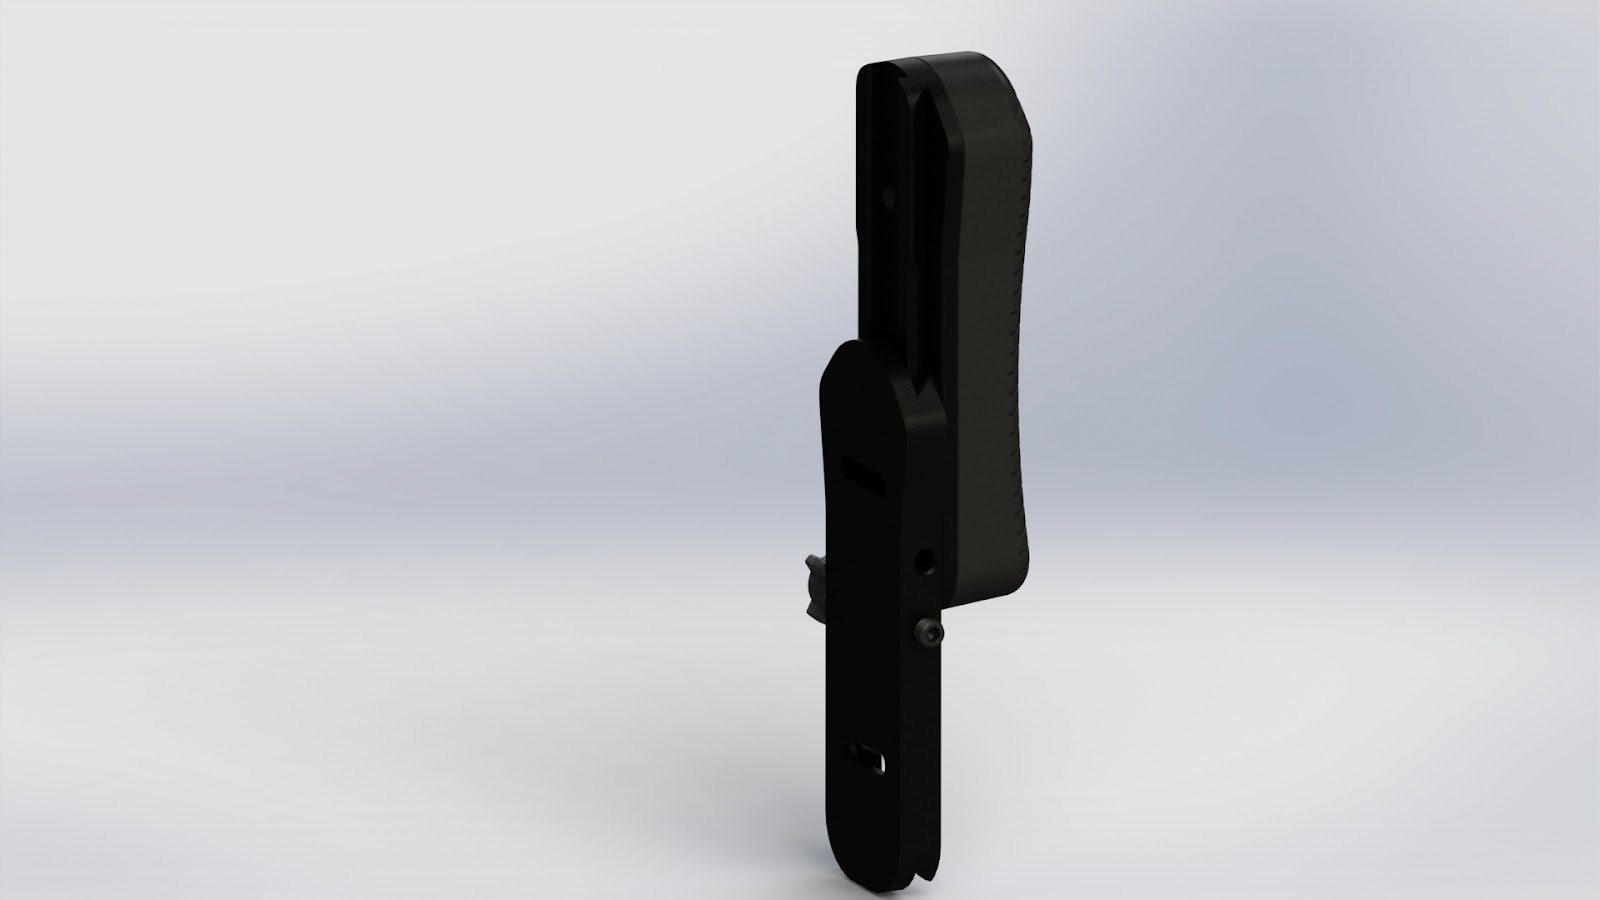


- Place the desired amount of LOP spacers between the stock and vertical buttpad adjustment base as shown below, inserting the #10-32 x 1-¾” screws into the slots on the vertical buttpad adjustment base and through the LOP spacers.
NOTE: The vertical buttpad adjustment base and buttpad dovetail plate will add slightly more length than 2 LOP spacers (0.5in).
NOTE: The extra #10-32 x 1” screw may need to be used on the top hole of the buttpad if using less than 2 LOP spacers (including the transition spacer).
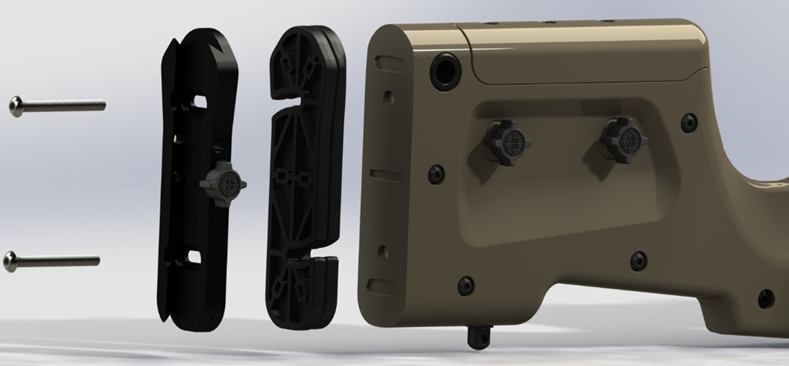


- Using a 1/8” Allen wrench, secure the vertical buttpad adjustment base onto the stock using the provided screws, ensuring the screws are properly aligned with the LOP spacers. Before fully tightening the screws, adjust the horizontal and cant positioning of the vertical buttpad adjustment base as desired.
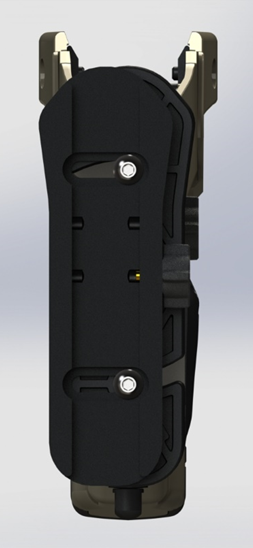

- Slide the buttpad dovetail slider into the vertical buttpad adjustment base. Using a 1/8” Allen wrench, tighten the set screw until it stops the buttpad from sliding out but doesn’t cause any resistance.
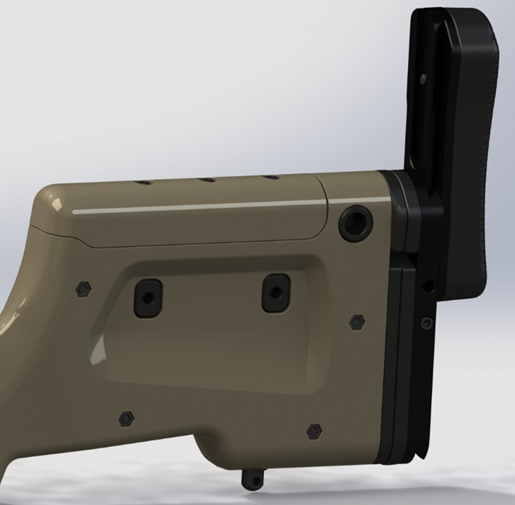


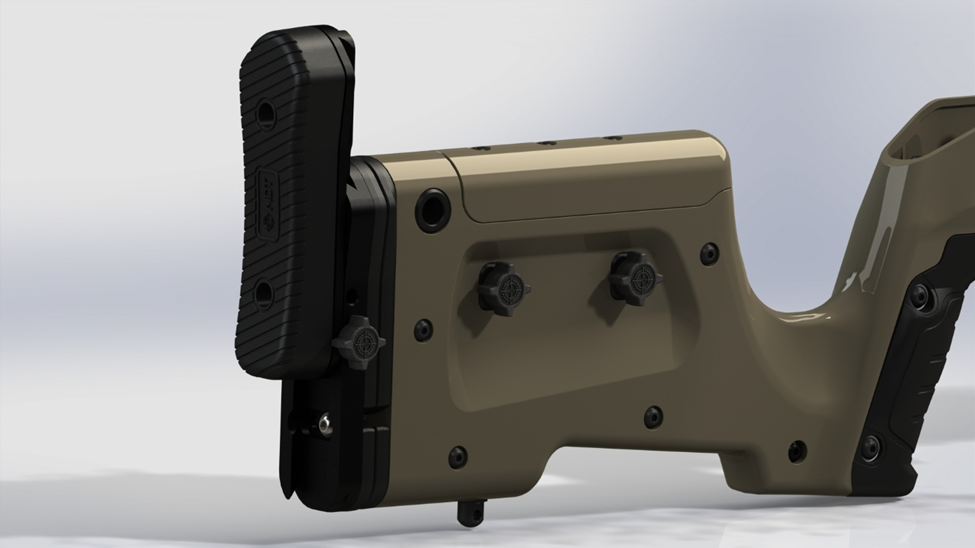
- Using the thumbwheel, secure the buttpad dovetail slider at the desired position. The installation is now complete.
NOTE: If there is movement when the buttpad dovetail slider is secured in the highest position, move the thumbwheel to the higher of the two tapped holes to secure the buttpad dovetail slider.


Tables can't be imported directly. Please insert an image of your table which can be found here.
MAINTENANCE INFORMATION NOTICE: THIS MANUAL COMPLEMENTS YOUR RIFLE MANUFACTURER’S MANUAL. FOLLOW ITS LUBRICATION AND MAINTENANCE INSTRUCTIONS. When should I clean and lubricate my new MDT chassis? How should I clean and lubricate my MDT chassis? NOTE: AFTER USE UNDER EXTREME CONDITIONS, IT MAY BE NECESSARY TO DISASSEMBLE THE CHASSIS FOR PROPER CLEANING. Is the MDT chassis corrosion-proof? WARRANTY What warranty does MDT provide? How do I claim warranty on a MDT product? How MDT process warranty claims? What are the warranty limitations? Jurisdictional Exceptions: SAFETY GUIDELINES 1. ALWAYS KEEP THE MUZZLE POINTED IN A SAFE DIRECTION. 2. DO NOT RELY ON ANY MECHANICAL SAFETY. 3. UNDERSTAND THE TARGET AND WHAT IS BEYOND THE TARGET. 4. NEVER SHOOT AT WATER OR AT A HARD SURFACE. 5. USE PROPER AMMUNITION. 6. IF THE FIREARM FAILS TO FIRE, DO NOT MOVE. 7. ALWAYS WEAR EYE AND EAR PROTECTION WHEN SHOOTING. 8. VERIFY THAT ACTION AND BARREL ARE CLEAR BEFORE SHOOTING. 9. LEARN THE PARTICULAR CHARACTERISTICS OF EACH FIREARM. 10. SHOOT SOBER! DISCLAIMER
